DEVKIT-S12ZVC快速入门
上次修改时间:
2019-03-26 17:07:58支持
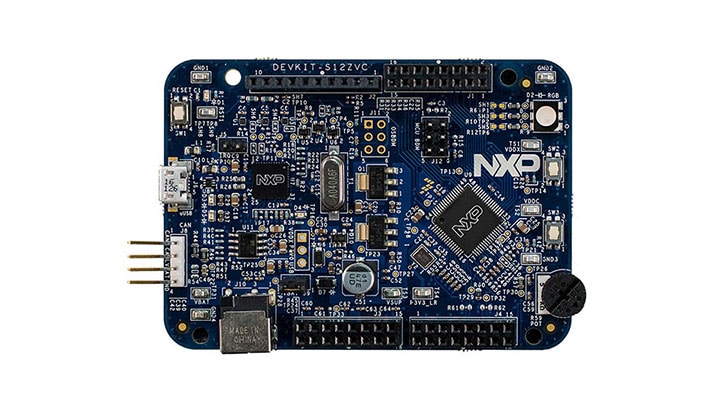
9S12ZVCA192开发板
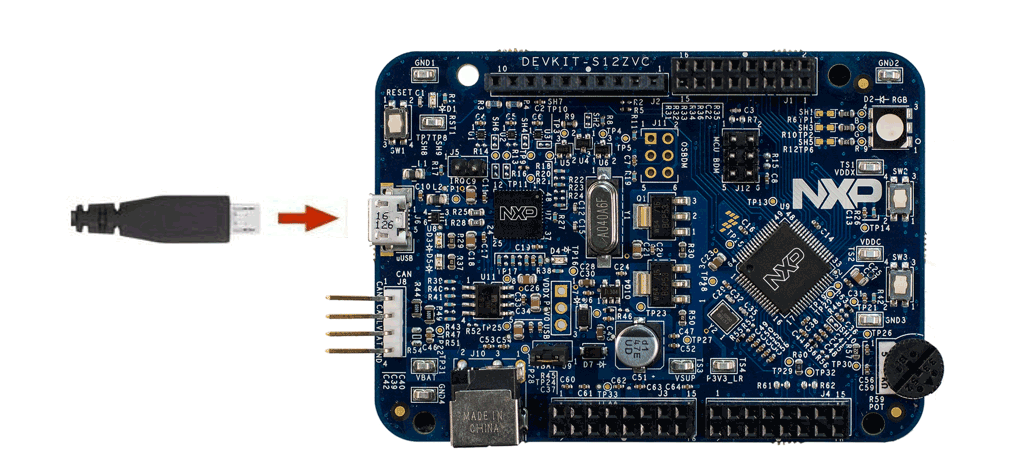
1. 连接
让我们开始试用DEVKIT-S12ZVC!
1.2 运行开箱即用的演示
DEVKIT-S12ZVC预装了简单的代码示例,可切换LED的颜色。
2. 获取软件
选择开发路径。
CodeWarrior v5.2集成开发环境(IDE)
- 支持Eclipse环境下的插件
- 通过BDM提供真正的调试支持
- 代码项目示例
2.2 安装CodeWarrior v5.2
面向恩智浦HCS12微控制器的CodeWarrior Development Studio能够帮助您快速、轻松地构建并部署HCS12或HCS12X/XGATE系统。
获取CodeWarrior Development Studio
2.3 PC配置
一旦您将DEVKIT-S12ZVC连接到PC后,将开始安装板驱动程序,请等待安装切勿拔下。
3. 构建、运行
了解如何在CodeWarrior v5.2中创建一个新项目,并通过运行一个简单的示例代码,掌握创建代码的基础知识。
3.1 在CodeWarrior v5.2中创建新项目
请按照列出的步骤在工作区中创建新项目,并加载目标器件的配置。
3.2 创建、构建和运行您的应用
快速掌握如何创建“hello world”代码,并在DEVKIT-S12ZVC板上运行。
设计资源
支持
论坛
在恩智浦的一个技术论坛网站上,可与其他工程师交流,获取如何使用DEVKIT-S12ZVC进行产品设计的专业建议。